How to Fit a Wall Hung Toilet: A Step-by-Step Guide
Wall hung toilets are becoming increasingly popular in modern bathrooms for their sleek look, space-saving design, and easy cleaning. However, installing one isn’t as straightforward as a traditional toilet. If you’re considering making the switch, understanding how to fit a wall hung toilet is essential. This guide breaks down the process and the components you need—including the wall hung toilet bowl and wall hung toilet frame.
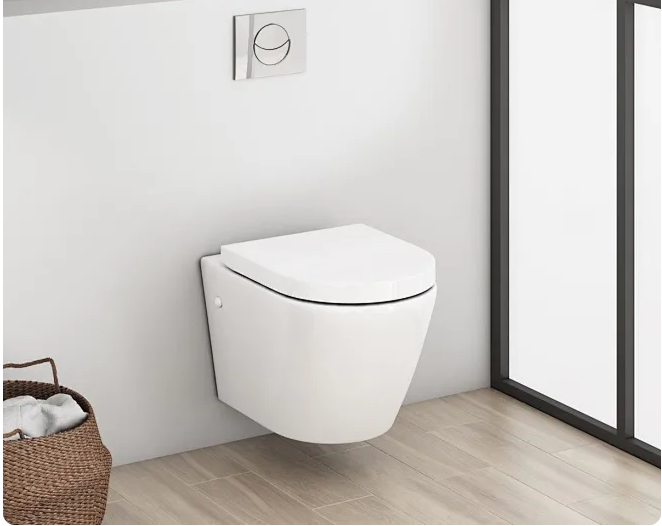
What is a Wall Hung Toilet?
A wall hung toilet is a type of toilet where the bowl is mounted directly to the wall, with the cistern and plumbing hidden behind a wall or inside a bathroom furniture unit. This creates a clean, minimalist look and makes the floor easier to clean.
Key Components You’ll Need
Before you start, gather the following components:
- Wall hung toilet bowl
- Wall hung toilet frame (also known as an in-wall frame system)
- Concealed cistern
- Flush plate or button
- Waste and water supply connections
- Tools: drill, level, spanner, wrench, screwdriver,
Step 1: Choose the Right Wall Hung Toilet Frame
The wall hung toilet frame is the backbone of your installation. It supports the weight of the toilet and user—up to 400kg if properly installed. Choose a high-quality frame from a reputable brand. Most frames are adjustable in height and are suitable for installation into either solid masonry or stud walls.
Step 2: Prepare the Wall
If you’re installing into a stud wall, you’ll need to reinforce it with noggins or a metal support frame. For masonry walls, ensure the surface is level and strong enough to bear the weight.
Mark the frame’s location and ensure it’s perfectly vertical using a spirit level. Double-check measurements to meet the standard toilet height (usually around 420mm from the floor to the top of the toilet bowl).
Step 3: Install the Frame and Cistern
Mount the wall hung toilet frame to the wall and floor using the provided fixings. Secure the concealed cistern to the frame, ensuring all connections (inlet and flush) are tight and leak-free. Connect the waste pipe at the rear and the water inlet pipe.
Now is a good time to check for any leaks before closing off the wall.
Step 4: Box In the Frame
Once everything is secure and tested, the next step is to box in the frame using moisture-resistant plasterboard or tile backer board. This is then tiled over to match your bathroom décor. Don’t forget to leave access for the flush plate area, as this allows access to the cistern if needed in the future.
Step 5: Attach the Wall Hung Toilet Bowl
Once tiling is complete and dry, you can fit the wall hung toilet bowl. Use the bolts provided with the frame to mount the bowl to the wall. Align the waste and water supply correctly, ensuring a tight, secure fit.
Make sure the toilet is level before fully tightening the bolts. Apply a bead of silicone around the base for a clean finish and added stability.
Step 6: Fit the Flush Plate
The final step is to attach the flush plate or button, which connects to the concealed cistern. This usually snaps into place or is fixed with screws, depending on the model.
Test the flush mechanism to ensure everything is working properly.
Final Thoughts
Installing wall hung toilets and frames can be a rewarding project if you have the right tools and some DIY experience. They offer style, functionality, and easier cleaning—but proper installation is crucial. If you’re not confident, consider hiring a professional plumber to ensure the job is done right.
By following these steps, you’ll be on your way to a modern, clutter-free bathroom space that combines aesthetics with practicality.